
The Shrinkwrap tool enhancements that were released in the 2018 version of Inventor were some of the best tools that have ever come out in Inventor, in my opinion. Controlling the outcome has never been easier and the ability to specify individual part features in the result is perfect for someone who must create factory or BIM-ready models. There are lots of videos and posts demonstrating these wonderful features, so I don’t have much more to offer there. However, one thing that I’ve found to be curiously lacking though, is how to fix the “oops factor” or even how to simply modify an existing Shrinkwrap. If you’re like me, you’ll definitely forget to exclude something, or sometimes there are just changes that need to be implemented. In this post, I’ll walk you through the process of updating / modifying a Shrinkwrap and / or a Shrinkwrap Substitute.
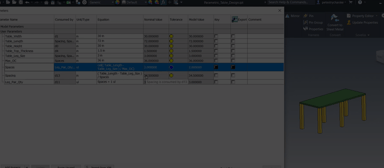
I’ve already created a Shrinkwrap scenario, and in this case (shockingly…), I had really forgotten to remove some fasteners as you can see in the image below.

Whoopsidaisies, Pesky Fasteners were NOT Removed During the Shrinkwrap Creation
To remedy this situation, you’ll have to open the Shrinkwrap part.

Open the Shrinkwrap Part to Initiate the Modification Process
Once inside the Shrinkwrap part, right – click on the name of the file (the topmost node of the Model Browser) and select the “Check for Updates” option. Even if there aren’t any updates to your knowledge the process doesn’t seem to work well if you don’t engage in this step, regardless.

Be sure to Right – Click on the File Name Node and Choose the “Check for Updates” Option
After checking for any updates, right – click on the Assembly reference node (In this case the “_Blower_Main.iam” node) and choose the “Edit Shrinkwrap Assembly” option. This will open the assembly and the Shrinkwrap tool*, where we can then choose to exclude the fastener, or in this case the entire pattern of fasteners and underlying holes.
*Note: If the assembly opens, but NOT the Shrinkwrap tool, close the assembly and then immediately reopen it. Be sure to update the assembly when prompted, save and then close the assembly. Then go back to the Shrinkwrap part and repeat the “Check for Updates” process.
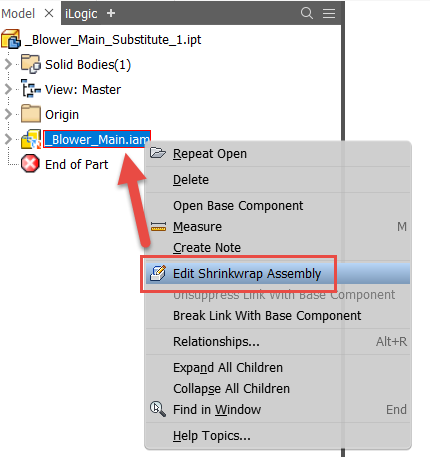
Choose the “Edit Shrinkwrap Assembly” Option after Right – Clicking on the Reference File Node
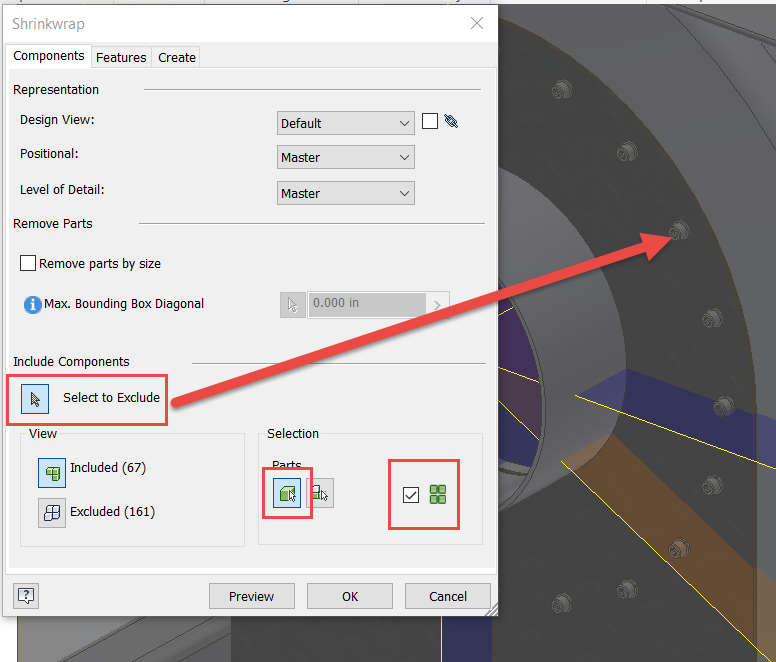
Once in the Shrinkwrap Tool, Exclude All the Fasteners and Washers
The resulting Shrinkwrap shows that the fasteners and washers have been removed, as well as any underlying holes. Success! Use this technique to augment the already excellent capabilities of the newer Shrinkwrap tool, by being flexible to handle those boo – boos or inevitable changes. If you have any questions or comments, please share them below in the comments. Hope you’ve found this helpful, happy blogging and have a most blessed day! - Pete Strycharske
Do you use any of these tips and tricks in your daily workflow? Feel free to brag about your success in the comments!
Like what you’ve read? Subscribe to our blog!
Feel free to share on Twitter or Facebook!