
Now that Autodesk University 2019 (AU) is all wrapped up, I am able to take a breather and get caught up on all my other CAD pursuits. AU was a great time where I met some amazing people, witnessed some powerful technologies and got to present topics related to my Content Center adventures over the course of the past year. Over the next several weeks, I’d like to share a bit from those topics that comprised my class, so that everyone can benefit from the information that is relevant to them.
To kick this series off, I’m going to show you how an iPart table can be utilized to publish a Content Center Family that has numeric controls built right into certain values. For this example, I’m going to showcase the Unistrut component that I used for my AU presentation and endeavor to control the final length value. I’m going to be relatively brief and let the figures drive the story, but I have included a link to my presentation materials and handout and the end of this post.
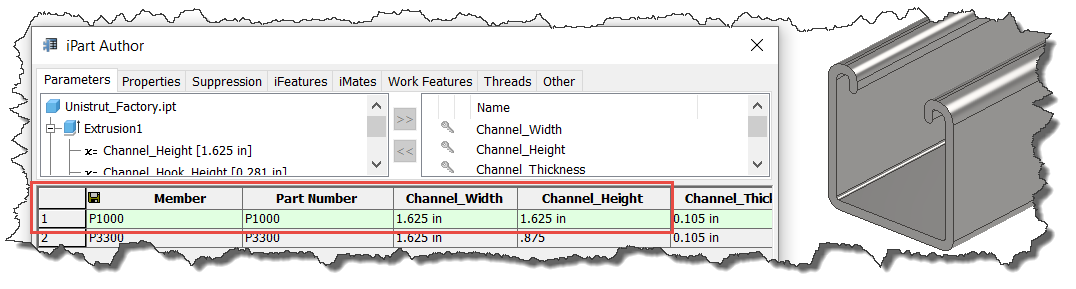
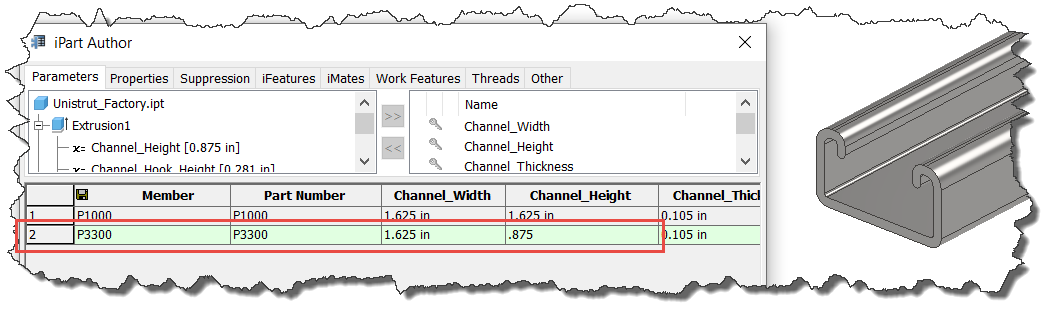
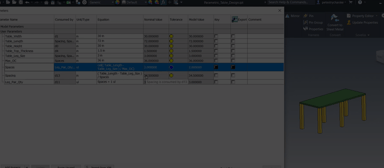
Images of the Unistrut utilizing different rows of the iPart Table
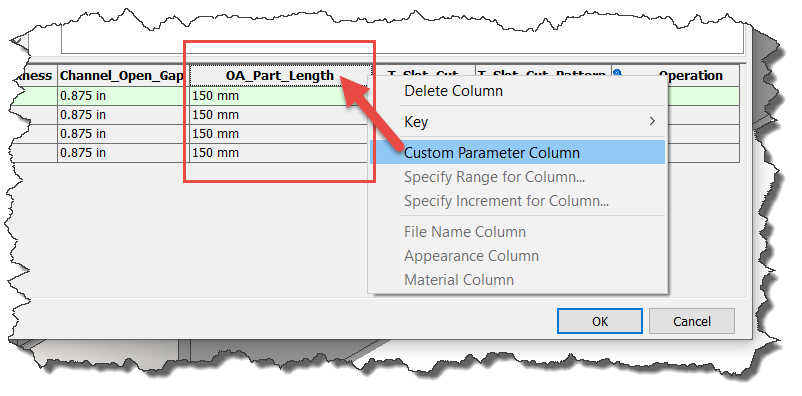
Access the iPart Table and find the “OA_Part_Length” column and right-click the header to create a “Custom Parameter Column”
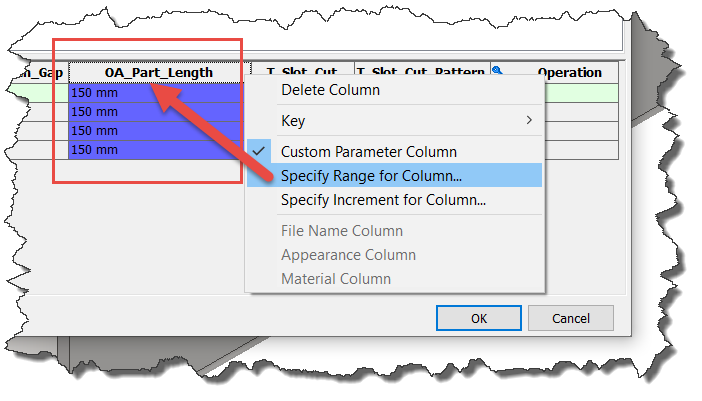
Right click on the column header and choose the “Specify Range for Column”
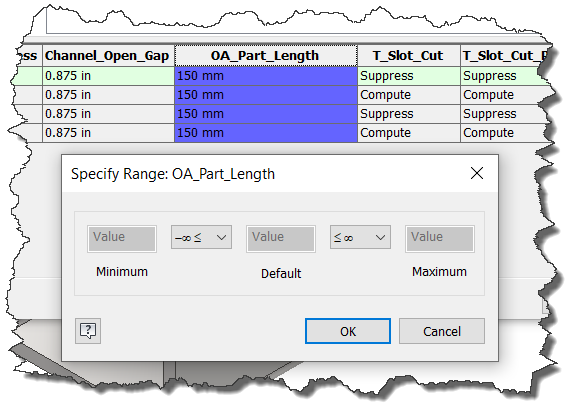
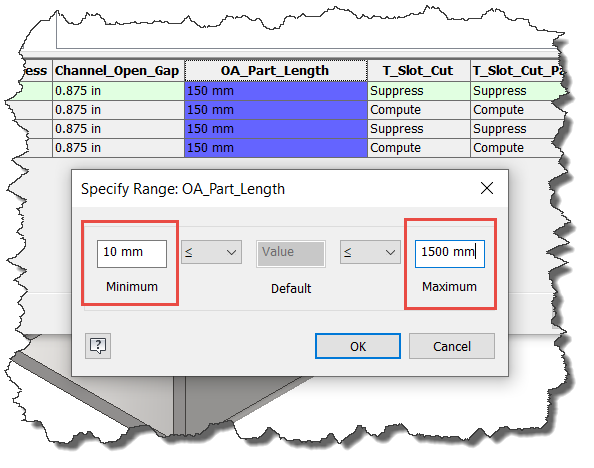
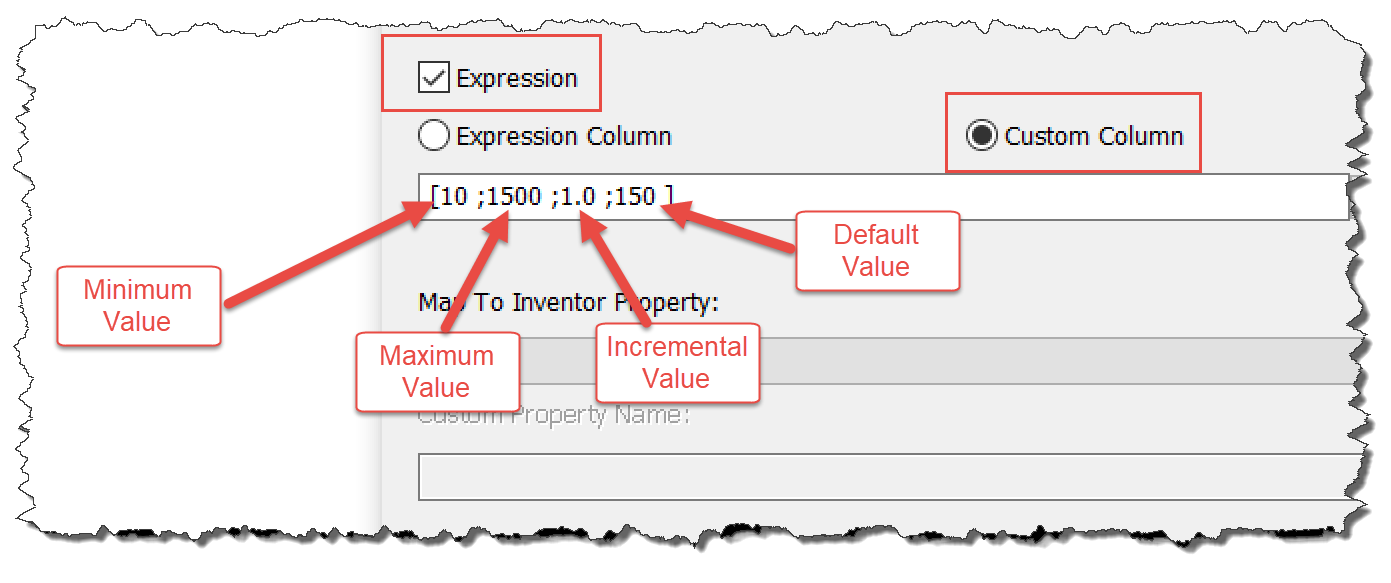
Choose the proper symbol (greater than, less than, etc.) and the set appropriate values for the minimum and maximum values
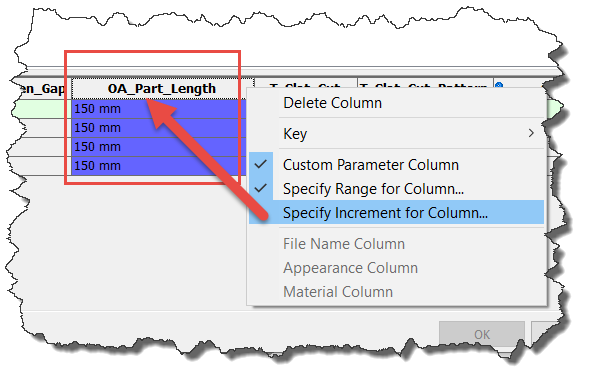
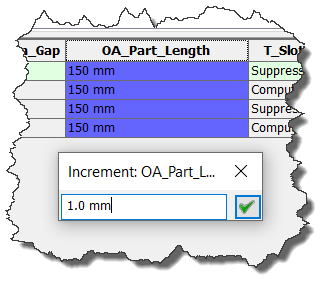
Right click on the column header one more time and “Specify Increment for Column”
Once the iPart Table has been properly modified, be sure to save the file and then publish the file to the Content Center. For this design, since this is just a general part, I’d recommend publishing this to the “Other” Category of the Content Center in whichever sub-category you choose to create. After the publish is complete, access the Family table to edit the information within the table.

Right click on the “OA_Part_Length” column header within the Family Table and access the “Column Properties”
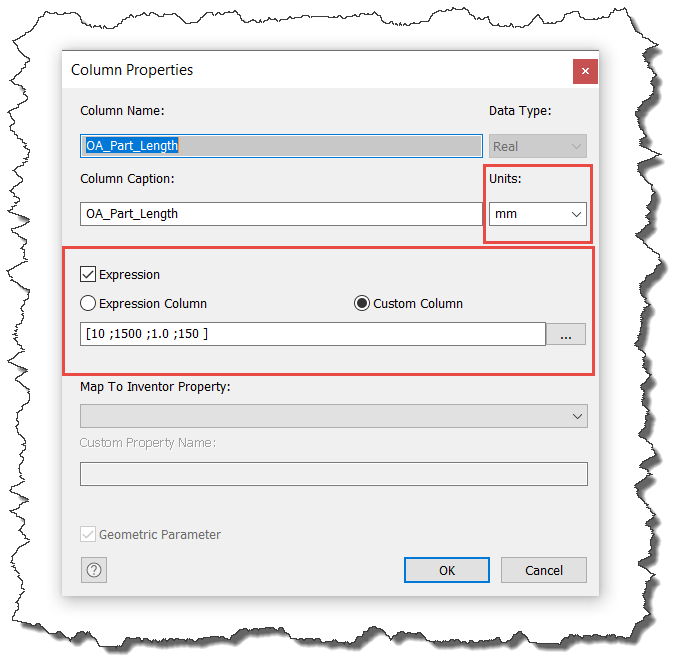
After publishing the Family from the iPart, all of the Numeric Controls translate into the new Family Table
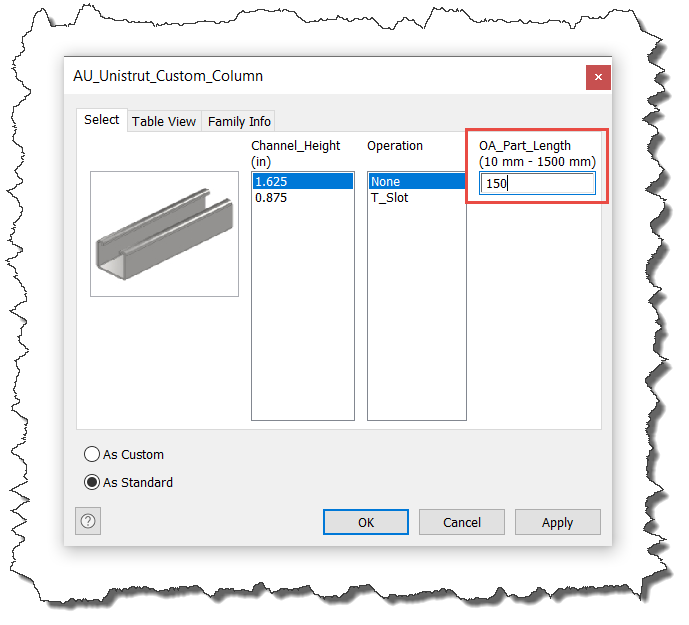
The resulting placement dialog box for our Unistrut Family
By controlling the values within the iPart table, we can quickly and easily control the Family Table values within the Content Center, which is a valuable approach for those who are more familiar with iParts versus the Content Center. In my next post, I’m going to demonstrate how these values can be set within the Content Center Family Table, without the need for iPart publishing.
Link to AU Content Center Presentation
Please let me know if you have any questions or comments below and I’d be happy to assist. In the meantime, happy blogging and have a most blessed day! - Pete Strycharske
Do you use any of these tips and tricks in your daily workflow? Feel free to brag about your success in the comments!
Like what you’ve read? Subscribe to our blog!
Feel free to share on Twitter or Facebook!