

Inventor Tips & Tricks - Better Simplify Results when Using Selective Envelopes
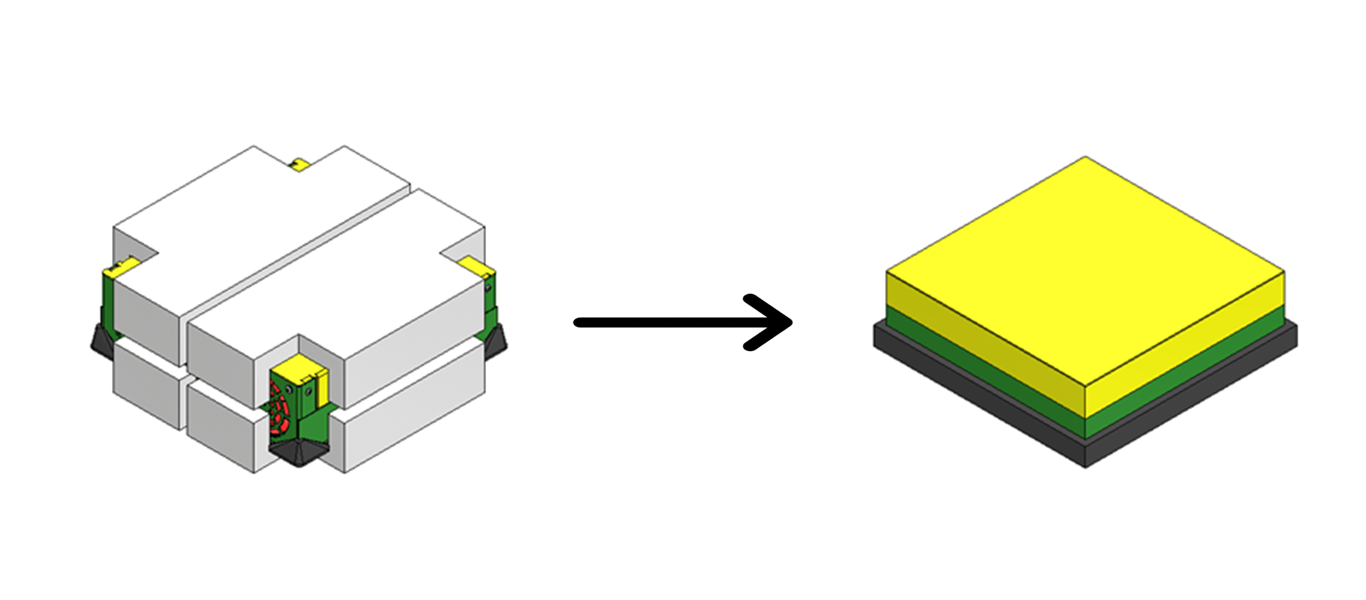
Often, we need to create simplified models that can be passed along to Revit, Plant 3D or used as Factory Assets. However, our engineering models are WAY too complicated and sometimes just removing components doesn’t sufficiently reduce the model to the necessary amount of detail. What are we going to do?!? I suppose we could just give up and go to the beach (don’t tempt me) … Instead of giving up, this time, we can get much simpler shapes by using the Envelopes within the SIMPLIFY command.
In this example, I’m going to use the SIMPLIFY command in the context of creating a Model State Substitute, so I can take advantage of the simplified shapes within my top-level assemblies, if I wish. For the purposes of this blog, and to get to the tip sooner, I’m going to assume that you, dear reader, have a basic understanding of Model States, Substitute Model States and the SIMPLIFY command. If you’d like some blogs and YouTube videos around those topics, please let us know in the comments below. Create a new Substitute Model State using the SIMPLIFY option.
Once inside the SIMPLIFY command, explore the different options for the Envelopes, from one simple box to each individual part as a box. I call this “gross simplification” and is especially great for LOD in the BIM world. Set the desired Envelop level, which is the “Each Top-Level Component” option in this example.
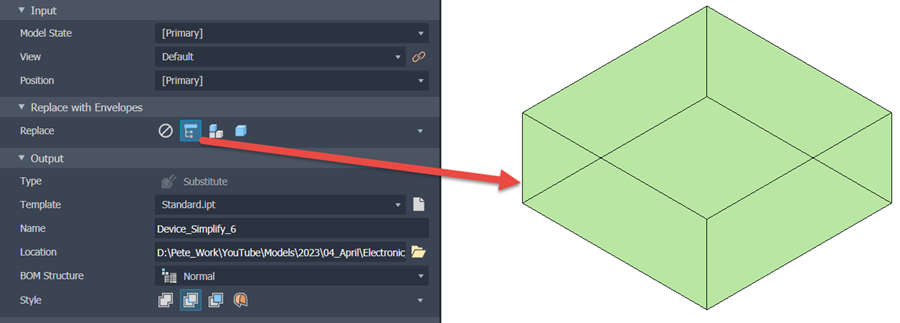
Example of “All in One Envelope” Option
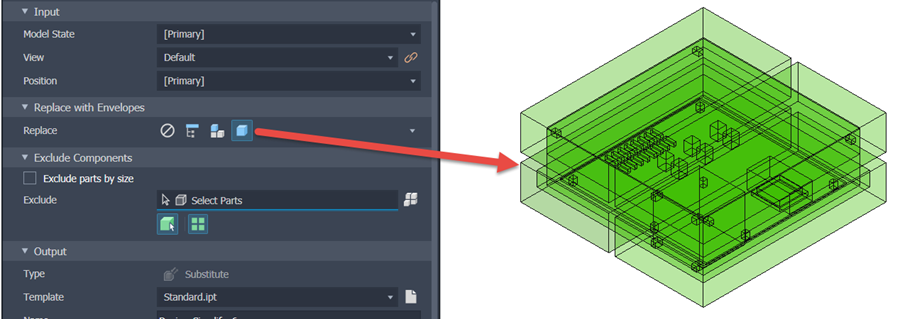
Example of “Each Part” Option
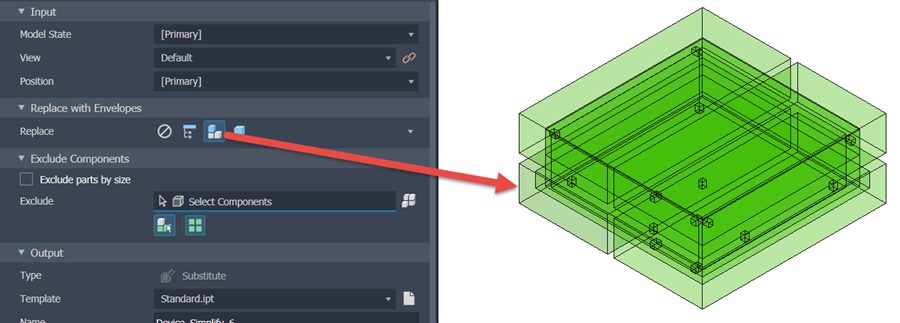
Desired Result of “Each Top-Level Component” Option
This is getting closer to the desired representation I want, but there are still some components left that I do NOT want in the simplified model. Thankfully, using Envelopes still affords us the opportunity to select the components that we want to remove, using the same procedures we would use if not using Envelopes. By individually selecting the Foam parts and using the “Exclude parts by size” option, we can easily remove the undesired parts.
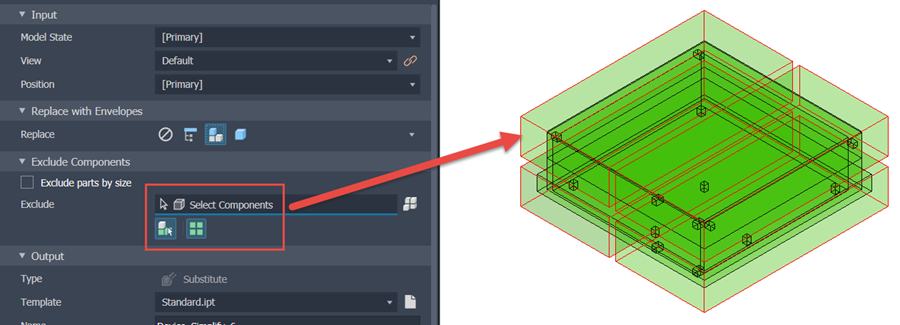
Explicitly Remove the Packing Foam Parts
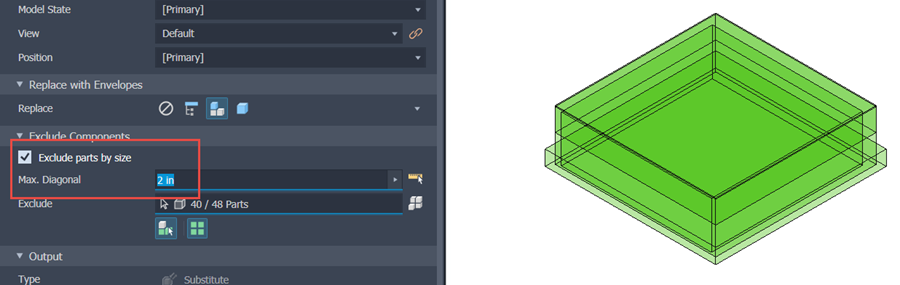
Utilize the “Exclude parts by size” Option to Quickly Remove Small Parts, Like Fasteners
That’s pretty much it! Name the Model State Part and select the other options, as you’d normally do with the SIMPLIFY command and you’re done. By utilizing the techniques of Envelopes and Excluding Components, one can readily create appropriately simplified geometry to represent larger, more complex assemblies. If you have any questions or comments, please let us know below, or if you’d like to see a specific topic (we’d love to know that too). Happy blogging and have a most blessed day!
Link to YouTube Video:
Download the PDF file for this post!
Do you use any of these tips and tricks in your daily workflow? Feel free to brag about your success in the comments!
Like what you’ve read? Subscribe to our blog!
Feel free to share on Twitter or Facebook!


