

In this relatively short blog post I want to discuss how to set up specific views in a model environment. This may sound like a simple and silly question, as for most situations one can simply orbit the model and set a Design View Representation. However, I was given a curve ball the other day; the user wanted the views to be precise in the sense that the scale factors were the same. Sometimes when orbiting a model, particularly with the View Cube, it can be difficult to maintain a precise scale factor. Therefore, in today’s post, we’re going to use an oft neglected tool: the UCS.
The UCS tool, if your unfamiliar with it, is really a group of geometry that acts just like the origin geometry, except you get to place it where you wish. Very much your own little origin, wherever you want it.
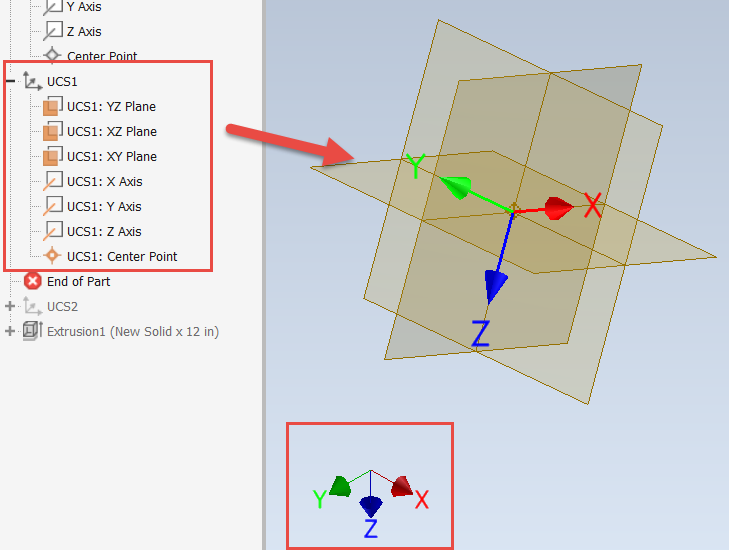
Sample UCS, Note the Difference to the Origin Orientation Below
A UCS is typically set by finding a vertex on a model and then defining the direction of the X & Y Axis. However, in our case, since we want precise views, we can set the UCS simply by using the origin geometry. To set the UCS center point and orientation point to the origin geometry, simply start the UCS command, use the Center Point from the origin folder and then right-click to “Finish” the operation.
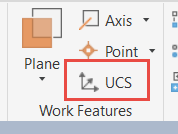
Launch the UCS Command
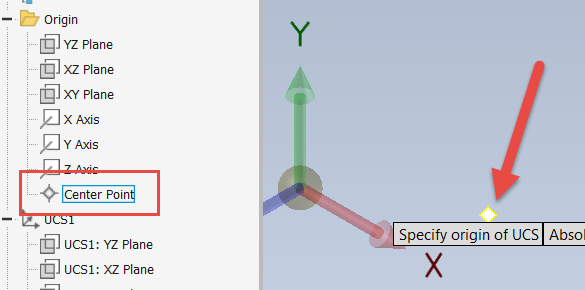
Utilize the Origin Center Point for the UCS
Now that the UCS is set, one can reposition or adjust the orientation as desired, by double clicking on one of the Axis Graphics of the UCS and manipulating the arrow shafts or tips. Click and / or dragging on the arrow tips will move or translate the UCS, while clicking on the arrow shaft will allow UCS rotation about that Axis. Since we’re concerned about keeping a consistent scale factor, be careful to utilize the same distances. For example, if using multiple UCS and one has been moved up 10 inches in the Y-Axis, then the other one should be moved down 10 inches in the Y-Axis, etc.
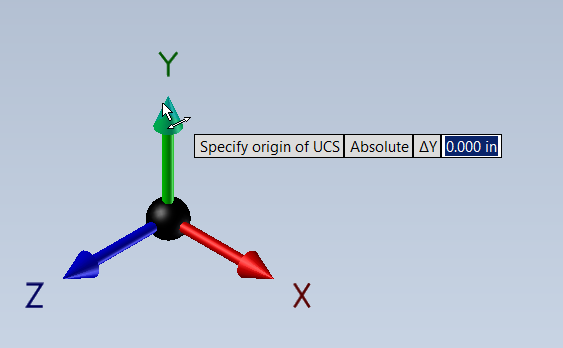
Click on the Arrow Tip to Move or Translate the UCS Along that Axis
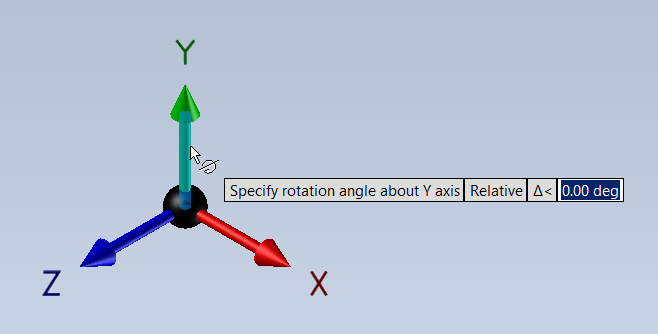
Click on the Arrow Shaft to Rotate the UCS About that Axis
One can translate and rotate a UCS as much as desired and multiple UCS can be set up. UCS can even be set up in a blank part and then saved as a template, so every future design already has the desired UCS configured. Here is an example with a couple of UCS.
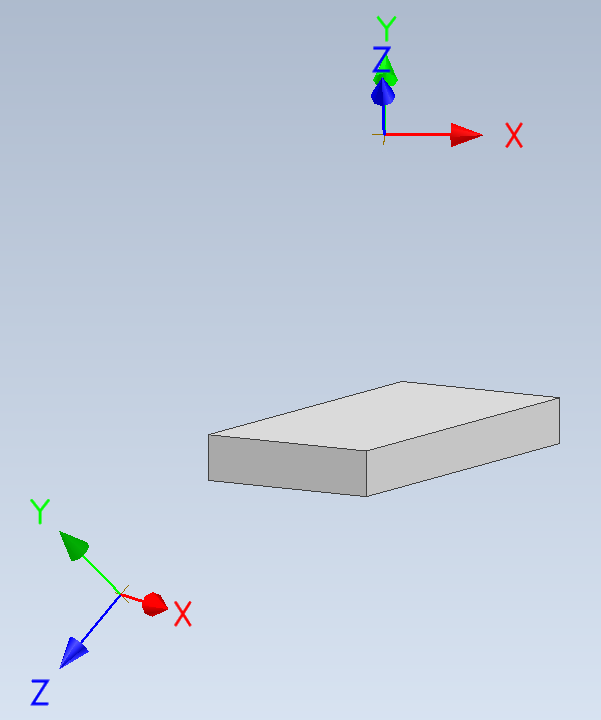
Example Part with a Pair of UCS
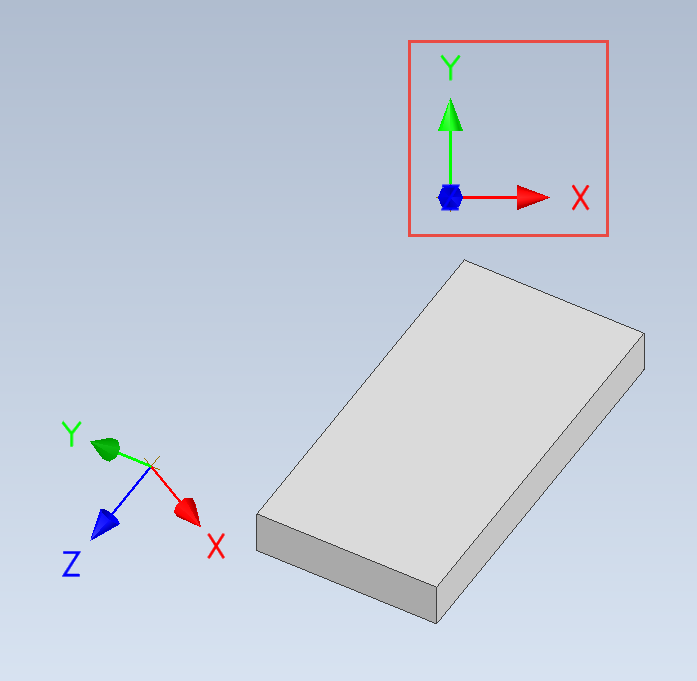
View from XY-Plane of UCS1
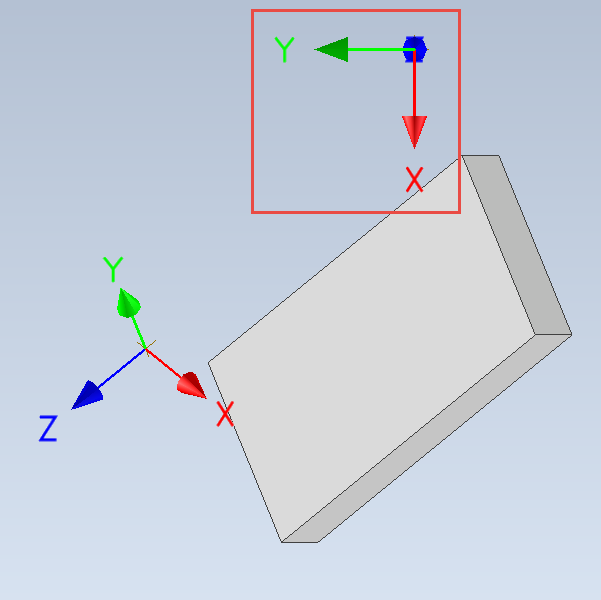
View from XY-Plane of UCS2
While there may have to be a little panning to get the view centered for a screen capture, this gets the model oriented as desired and maintains the desired view scale. One could create Design View Representations, if desired to preserve the views (which could also be done in the template).
The XY-Planes for each UCS can also be used to create custom orientations for a base view, as show below.
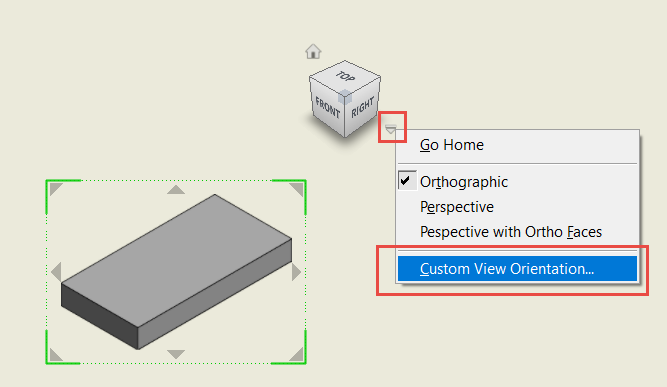
Create a New Drawing and Select “Custom View Orientation” for the Base View
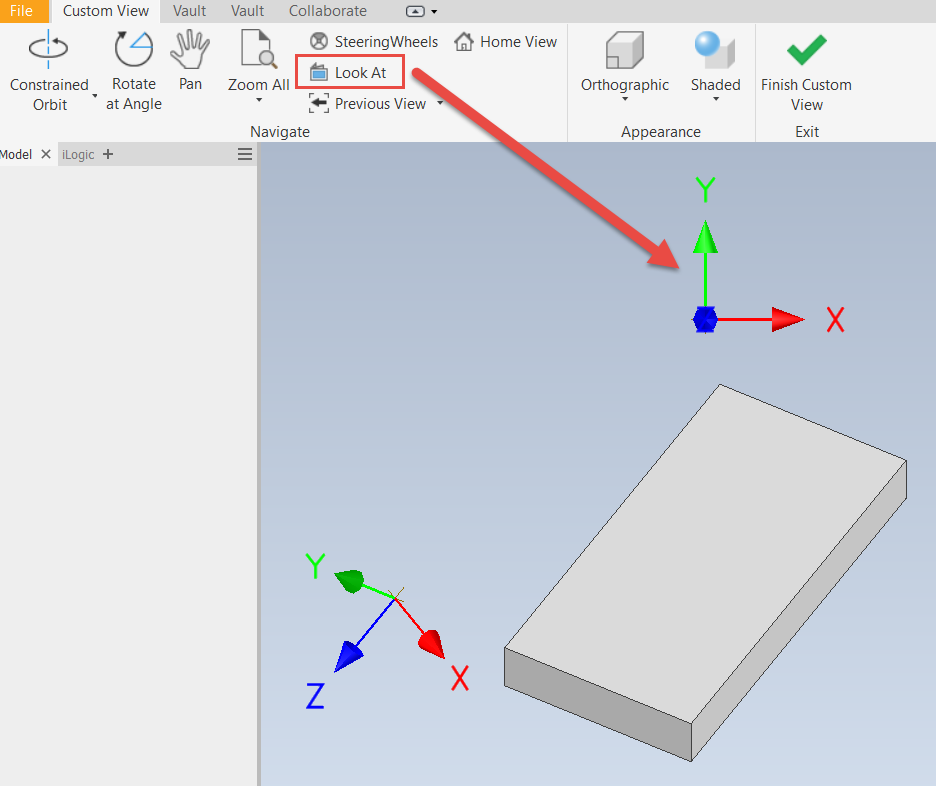
Within the Custom View Creator, Use the “Look At” Command to Reorient to the UCS’ XY-Plane (Only XY-Planes Work)
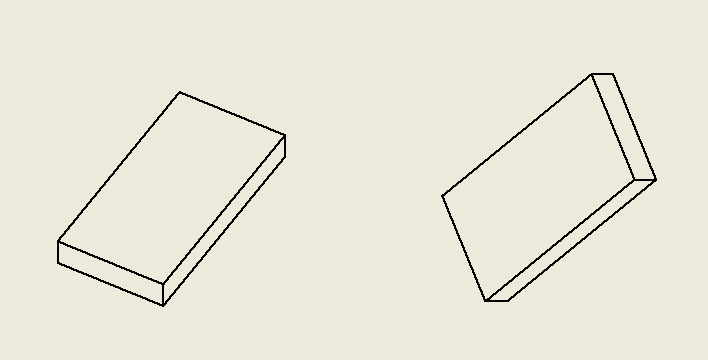
Create Many Custom Base Views, if Desired
So that’s a tip for getting better control over model views inside of Inventor if more precise screenshots are desired, or even preconfigured model views are desired. Please leave any comments or questions below and hope you find this tip helpful, if for nothing other than seeing another use for the UCS tool. Happy blogging and have a most blessed day! - Pete Strycharske
Do you use any of these tips and tricks in your daily workflow? Feel free to brag about your success in the comments!
Like what you’ve read? Subscribe to our blog!
Feel free to share on Twitter or Facebook!


