

Inventor – Methods for Resizing Assembly Work Planes
It’s been a while, but occasionally someone wants to know how to resize an assembly work plane, just like one might do for a part work plane. Unfortunately, in an assembly file, one cannot immediately click on the work plane in the graphics window, select one of the corner grips and resize the plane. Thankfully, the solution just involves a subtle setting change in the assembly file and then work planes can be manipulated exactly as expected. We’ll cover this simple setting as well as an additional technique for resizing the work planes, in this post.
Original Work Plane Size
Work Plan after a Manual Resize
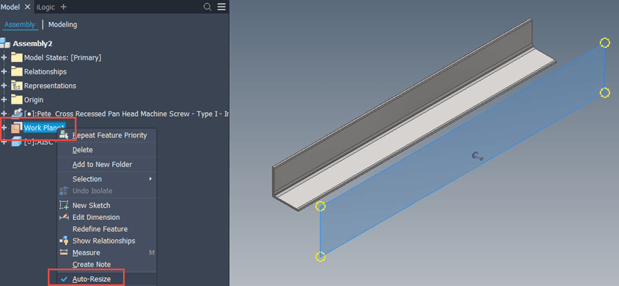
The first, and probably most familiar, way to control the sizing of work planes in Inventor is to set them to “Auto-Resize” by right-clicking on the work plane in the Model Browser and selecting that option. This works exactly the same as within a part model.
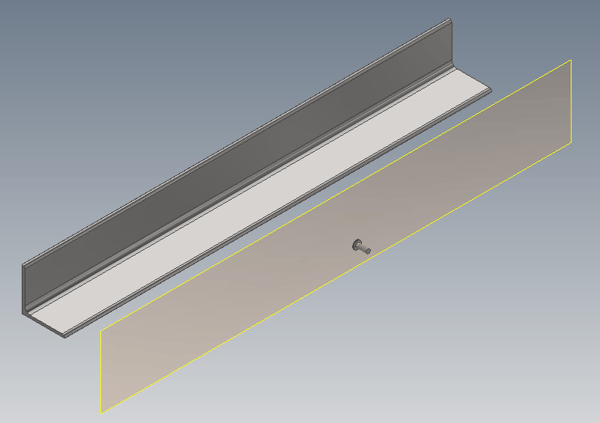
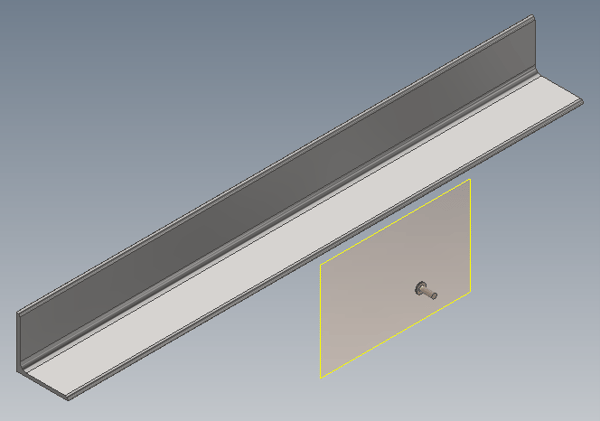
Original Assembly Work Plane Size Based on the Fastener, prior to Angle Member Placement
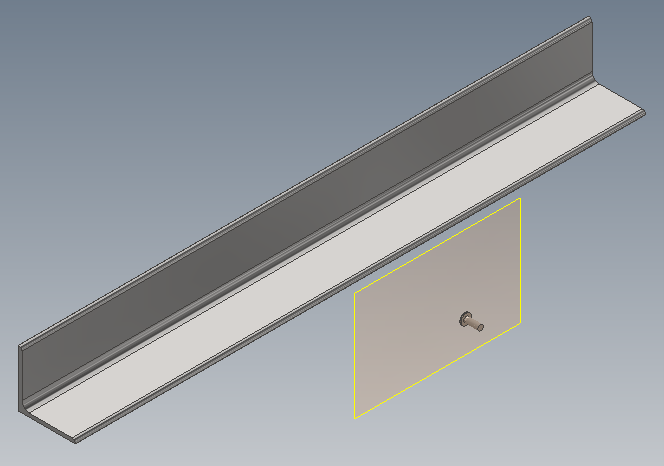
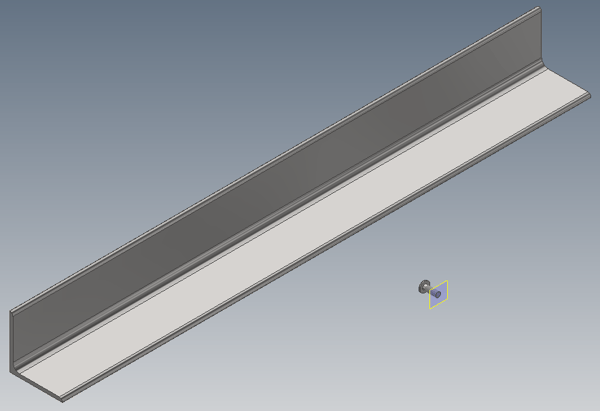
Work Plane Size after Setting to Auto-Resize
Sometimes the Auto-Resize option doesn’t quite get the desired size, so we’ll want the ability to manually set the size (and position) of the work plane. However, out-of-the-box assembly planes cannot be selected in the same manner as in the Part model. Thankfully, this only requires a slight setting change, to change the selection mode from “Select Component Priority” to “Select Feature Priority”. This exposes the grips for the work plane in the Graphics Window, which allows the planes to be resized.
Important Note: If you still have the “Auto-Resize” option toggled on, manual work plane manipulation will not be possible.
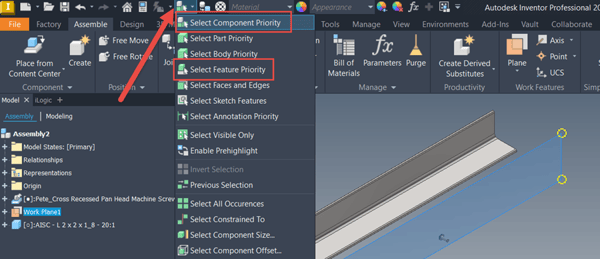
Change the Selection Priority to “Select Feature Priority”
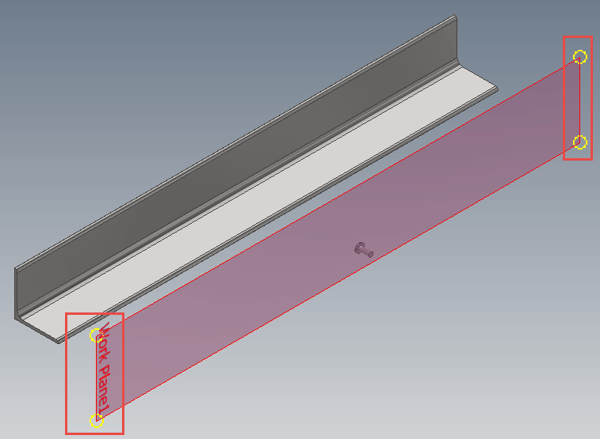
Work Plane Corner Grips become Available for Selection in the Graphics Window
Using the Grips, Resize and / or Reposition the Work Planes as Desired
That’s all it takes, just a simple selection setting change and you’re in the business of manually manipulating Assembly Work Planes! Nothing super complicated and that’s just the way that we like it! Hopefully, you found this helpful and please let us know if you have any questions, comments, or requests for future blog posts below. Hope all is well, thanks for reading and happy blogging!
Link to YouTube Video:
Download the PDF file for this post!
Do you use any of these tips and tricks in your daily workflow? Feel free to brag about your success in the comments!
Like what you’ve read? Subscribe to our blog!
Feel free to share on Twitter or Facebook!


