

In Part 1 of this blog miniseries, I highlighted how the total Estimated Cost could be displayed for all quantities of an item in a Parts List via a Value Substitution.
In this edition, I will show how we can group a category of items together and compute the costs for that entire group. This can be useful to break down assembly cost for budgetary purposes and / or to determine the most significant areas for cost reduction efforts. I will again use my homemade desk riser assembly, which has several types of parts (wood, metal, etc.), to illustrate the technique.

A Refresher: The Desk Riser Assembly
Just like last time, we’ll have to perform some parts list editing to group the assembly items together. After opening the Parts List Editor, simply click on the Group Settings tool and set the necessary criteria. In this case I’m going to choose the CATEGORY iProperty to group the items together, but you can choose other properties to group items and even use second and third level key to further subdivide the items.

Group the Items Together Using the CATEGORY iProperty

Initial Parts List Result
After executing the command, notice that nothing happened. Bummer… Thankfully, the case of the mysterious non – appearing part grouping can easily be solved by investigating the values used for the grouping. If the key property used for the grouping is blank, the grouping will not happen.
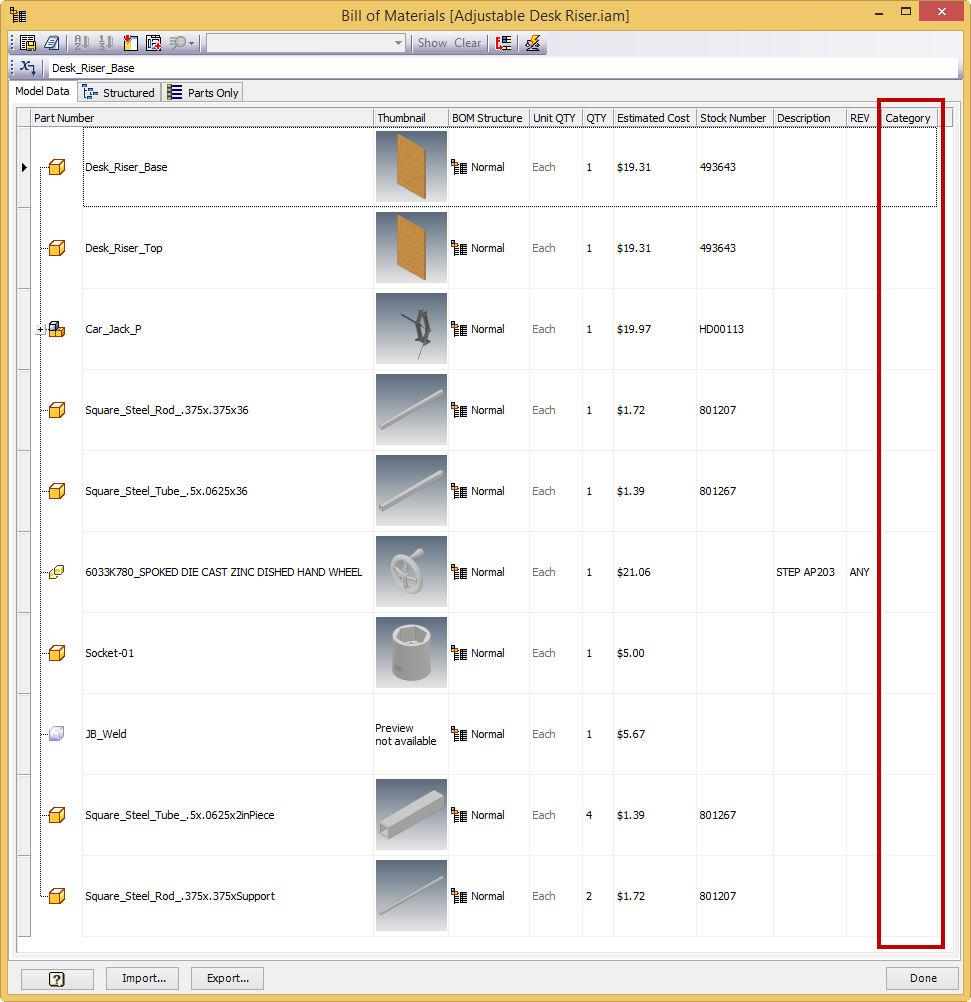
Assembly BOM Editor Showing Blank Values for the CATEGORY iProperty
The easiest way to fix this is to go back to the Assembly (or to access the BOM (Bill of Materials) by right clicking on the Parts List) and launch the BOM Editor. Within the BOM Editor be sure to use the Add Column tool to drag the CATEGORY iProperty column into the BOM. Then simply add the appropriate CATEGORY value for each component in the assembly.

Add the CATEGORY iProperty Column to the BOM
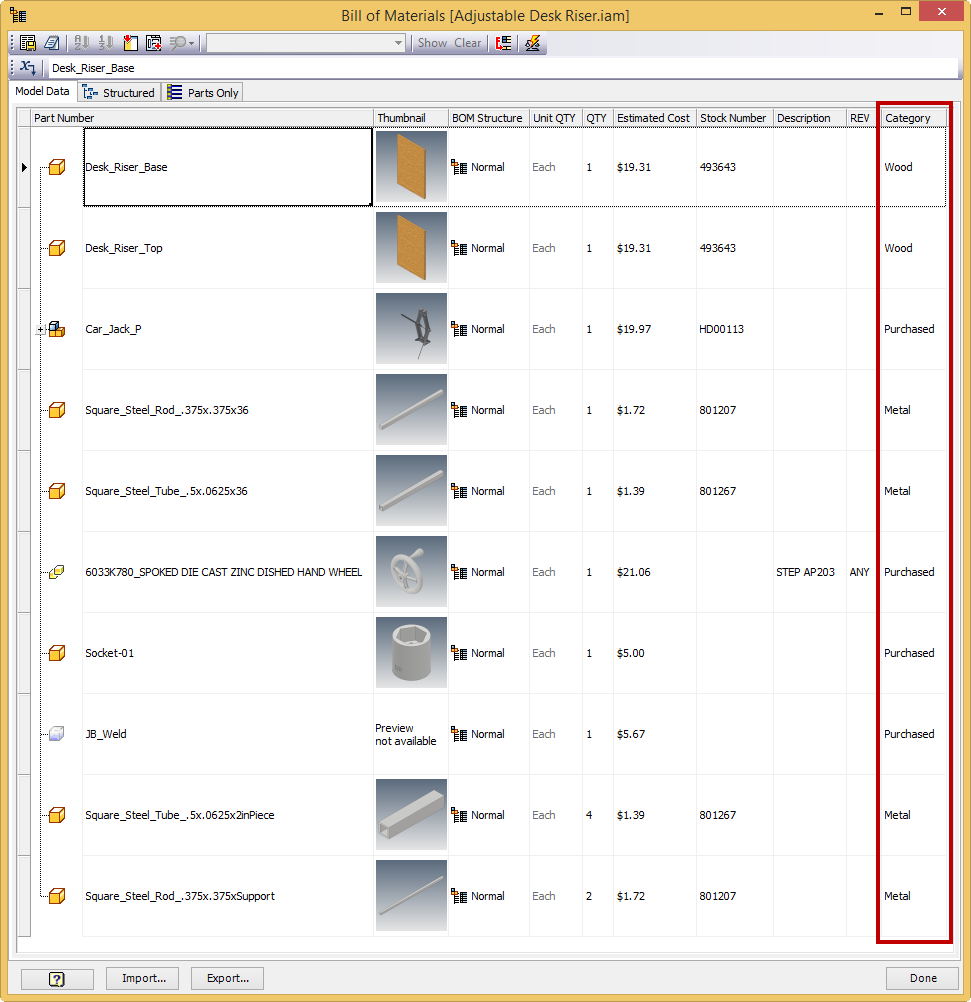
Assembly BOM Editor Showing Values for the CATEGORY iProperty
Return to the drawing and reapply the Group Settings to the Parts List. Notice how the items are now grouped together by the CATEGORY iProperty and the cost of all the items in the group has been tallied together using the Value Substitution learned in the last blog post. If you wish, you could also add to the CATEGORY iProperty column to the Parts List to clarify the group breakdowns.

Grouped Parts List Results
There are some additional steps that can be taken to help expedite this process in the future. If one creates a new Parts List style and adds the style to Drawing Standard, a grouped table is always available to choose when placing a Parts List within a drawing. Also, if one creates part / assembly templates that already have the CATEGORY iProperty populated (or use Design Checker or iLogic to enforce that iProperty is populated), the Parts List grouping will happen automatically if the grouped Parts List style is utilized.
This completes the two-part mini – series of computing group costs in a drawing Parts List. Please leave any questions or comments below, as I’d love to hear from you. Hope you find this helpful, happy blogging and have a most blessed day! -Pete Strycharske
Do you use any of these tips and tricks in your daily workflow? Feel free to brag about your success in the comments!
Like what you’ve read? Subscribe to our blog!
Feel free to share on Twitter or Facebook!


