

Have you ever had the need to create high-quality videos capturing the details of complex workflows in Autodesk AutoCAD to show your ideas, spread the word, or share knowledge? Autodesk Screencast will do that while tracking your keystrokes and mouse movements while you are recording.
1) Download the Screencast software: https://knowledge.autodesk.com/community/screencast
2) Find the download location and run the ScreencastSetup.exe
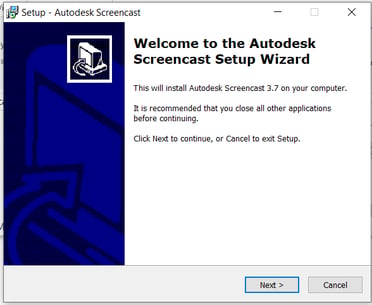
3) Go through the setup wizard and follow the installation directions.
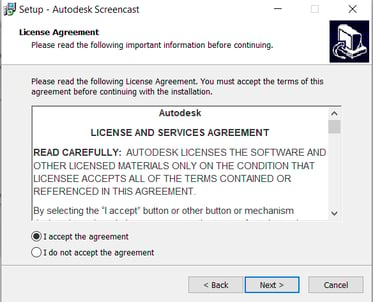
4) Accept all the defaults and install the Screencast software.
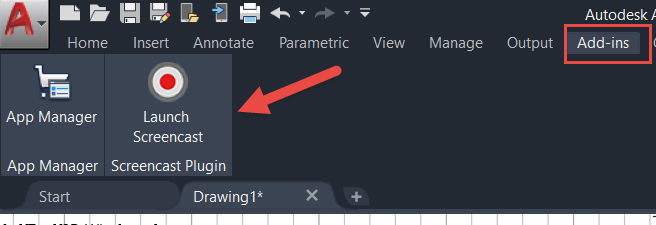
5) Open AutoCAD open a drawing or create a new one. Then go to the Add-ins panel and you
can start a recording.
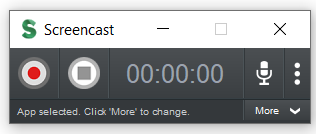
6) A dialog box will show up and you can change the settings of your recording including the
ability to turn on or off the audio. Select the Record button (red circle) and begin recording.
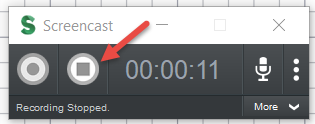
7) When finished recording select the Stop button and a preview of your recording will appear
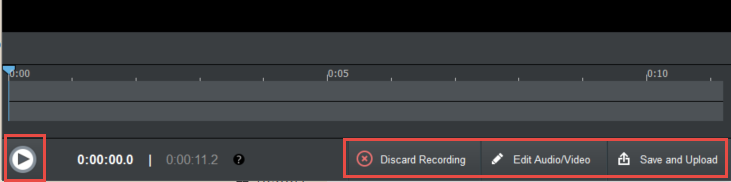
8) You will have the option to play the video, discard the recording, edit the audio/video, or
save and upload to the Autodesk server
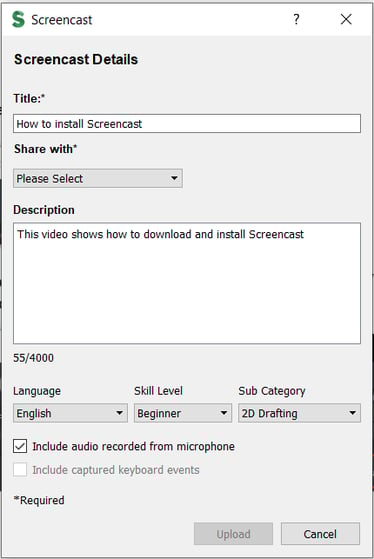
9) Once you are happy with your video you can select Save and Upload. Fill in the required
fields and submit the video to the Autodesk server. It is important to pay attention to the
Share with* option. This will allow you to share your designs with only people you want to
see them or with everyone.
.png?width=378&name=Screencast%20Add-in%20-%20Pic%20-%208%20(3).png)
10) Once all the fields are selected, pick the Upload button and the video will generate. You will
get an email notification with the link to the video for you to send to the group you want to
share your video with. The dialog box will also tell you that the video is ready and allow you
to access it from the dialog
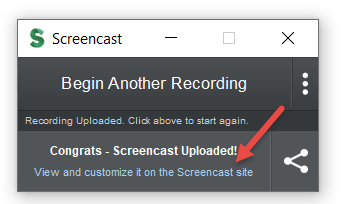
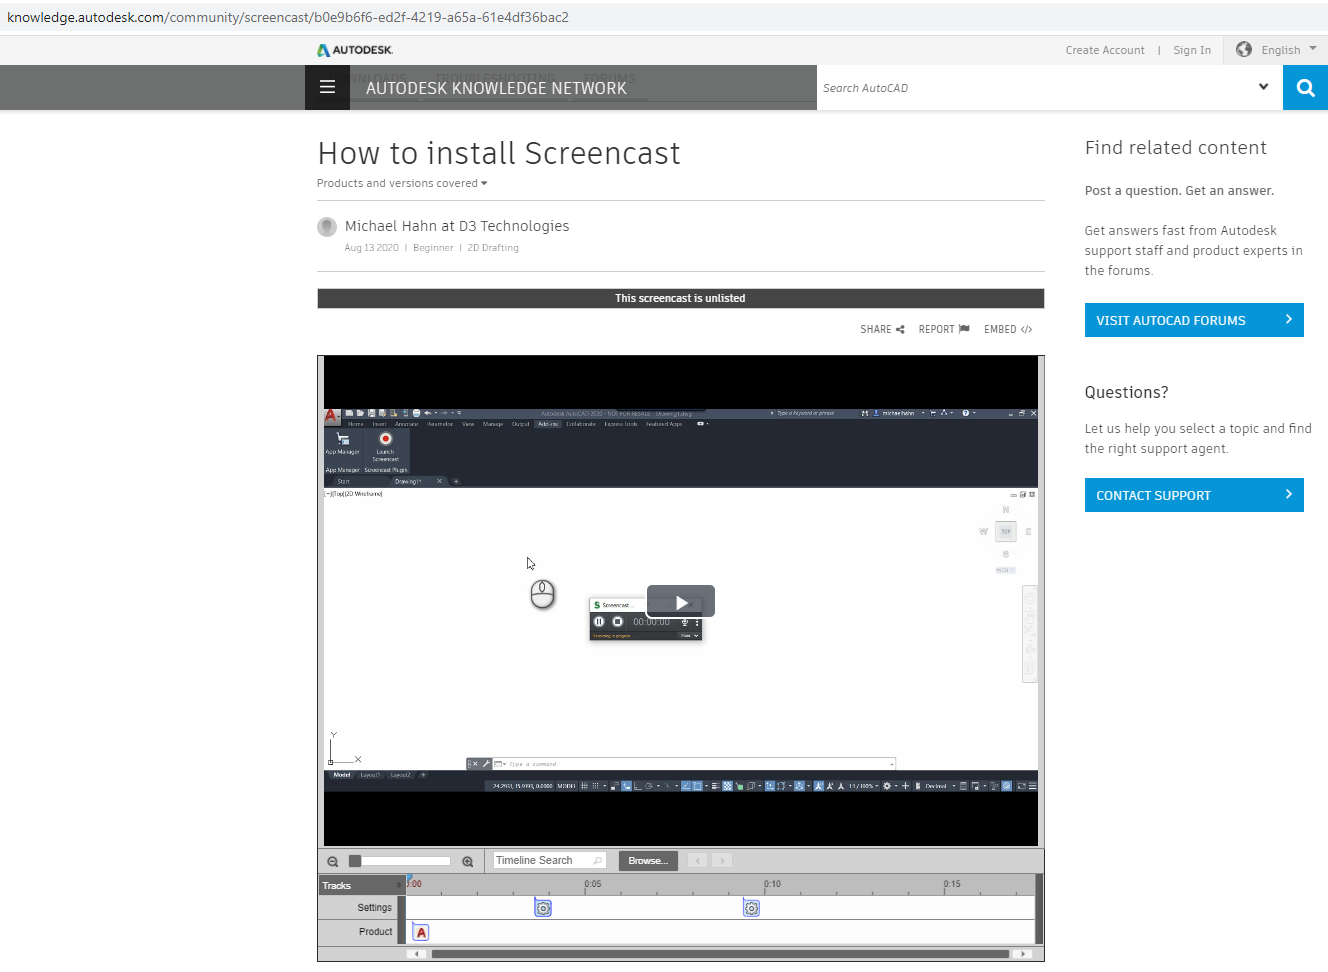
11) If you click “View and customize it on the Screencast site” an internet browser will launch, and
you will see the video. You can copy and paste the link into an email and send it to the team
members or customers you want to view.
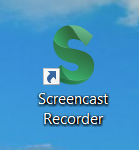
12) If you check the option so create a desktop icon you can launch Screencast from your desktop
instead of in the Autodesk software.
Like what you’ve read? Subscribe to our blog! Feel free to share on social!
Do you use any of these solutions or insights? Feel free to comment about your successes or struggles below!


