

Do you ever have a need to export a part or assembly file as a 3D PDF?
The first step is to make sure you have at least the free version of Adobe Acrobat Reader installed, or the export will come out blank.
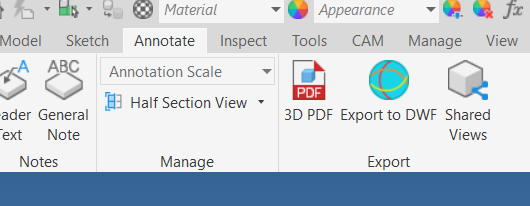
Open the Inventor part or assembly you want to export as a 3D PDF. On the Annotate tab, go to the Export panel, and select 3D PDF. This will launch the Publish 3D PDF dialog box.
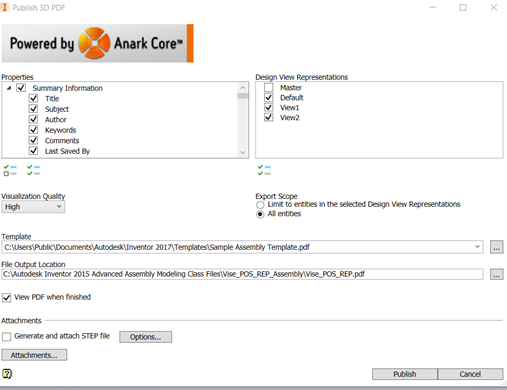
Once the dialog box comes up you have lots of options to choose. You can turn off and on which iProperties you want to bring in, which View Representations to populate, the resolution type you need, what template you would like, and the location of where to save the new file.
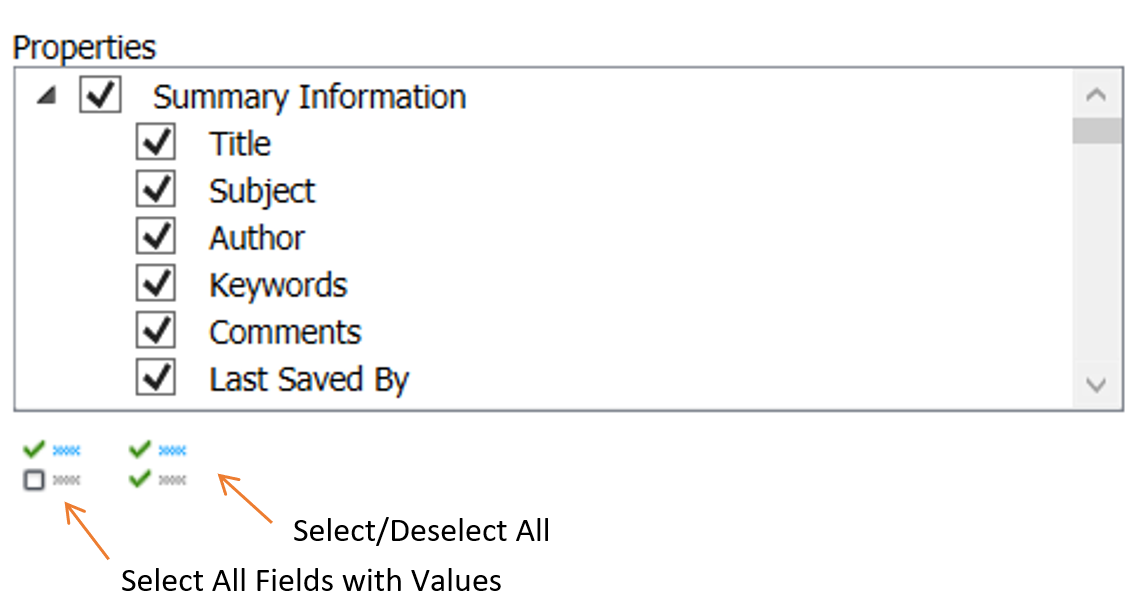
In the Properties pane all the iProperties are checked on by default. You can use the buttons on the bottom of the dialog box to toggle on just the iProperties that have a value in the model. The second button will select all or deselect all fields.
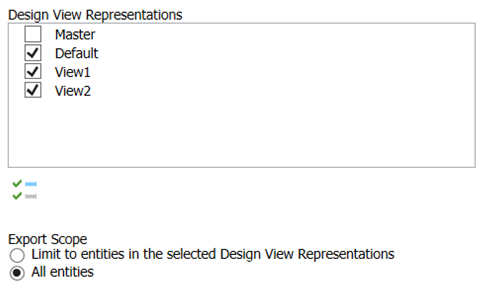
The Design View Representations dialog box will let you choose which views will be included in the export. You can check the Export Scope option below and select either Limit to entities in the selected Design Views or All entities.
The next step is to pick which template you want to use. Autodesk gives you a couple of samples to choose from but if you have Adobe Acrobat Pro you can copy one from the Autodesk sample templates and create custom one to use. The templates are in the standard template location: C:\Users\Public\Public Documents\Autodesk\Inventor 2017\Templates.

Under that you will select where the file output location and if you want to view the PDF once it is finished being generated.

Once you have made your selections, pick the Publish button.
When you open the 3D PDF in Adobe Acrobat Reader you have lots of option to choose from. You can select the View Representations you created that you want to print, pick on standard views, rotate, zoom, pan, pick the parts from the parts list and Isolate, Hide, Show, or Show all Parts.
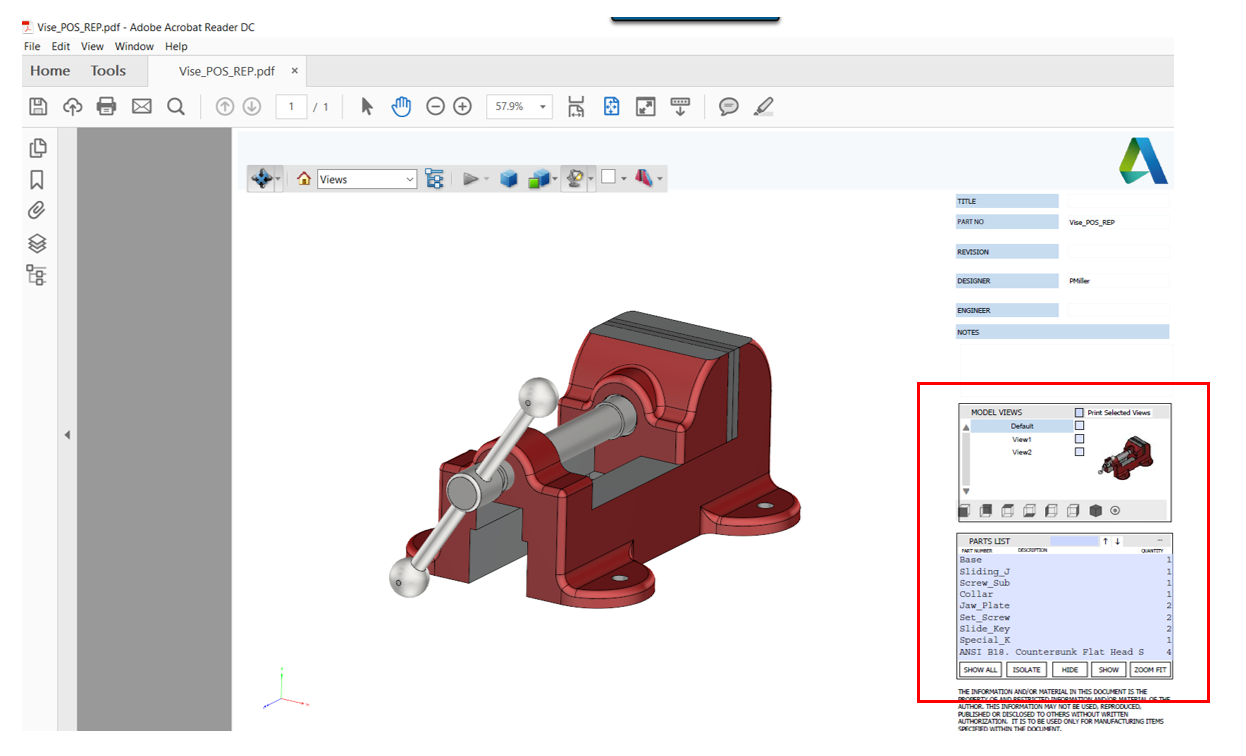
You can also change the way the model is shown, control the lighting, change it to perspective, select specific Design Views, change the background color, and do section views; all by using the top dialog box.

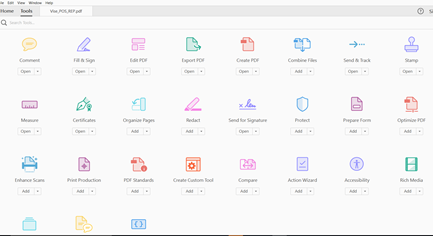
If you select on Tools it gives you tons of options. You can make comments on the PDF and save it for review, measure, compare to other documents, add a stamp, and much more!
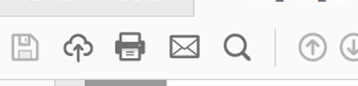
The last thing you can do is push the file to the cloud, print the document, or email it to a client.
So now you have seen a little of this awesome functionality. Go out and create some PDFs!
Like what you’ve read? Subscribe to our blog! Feel free to share on social!
Do you use any of these solutions or insights? Feel free to comment about your successes or struggles below!


